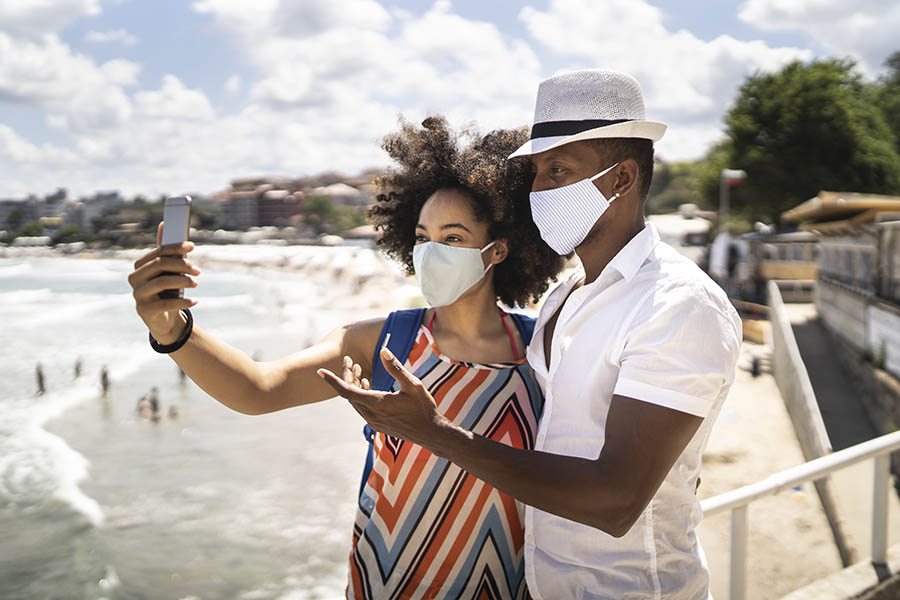
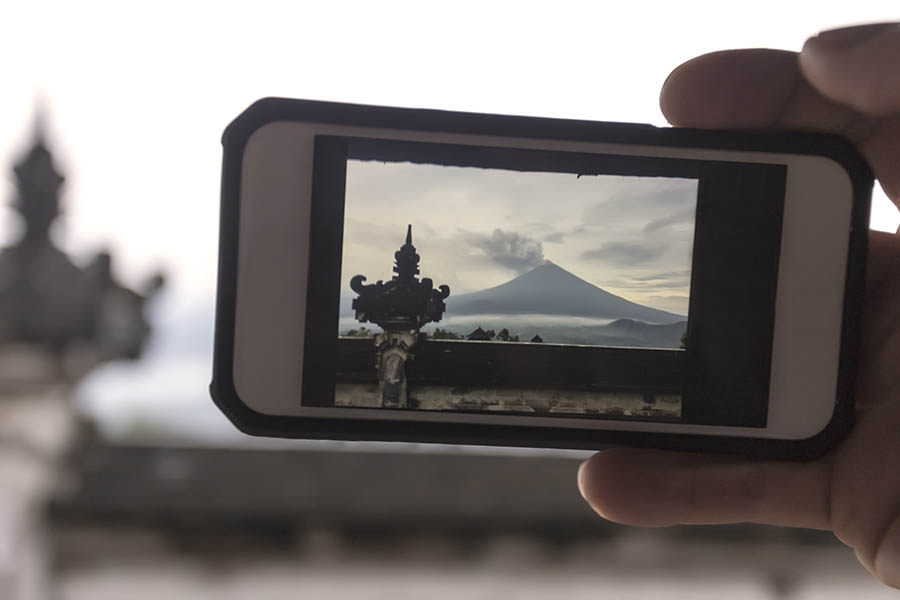
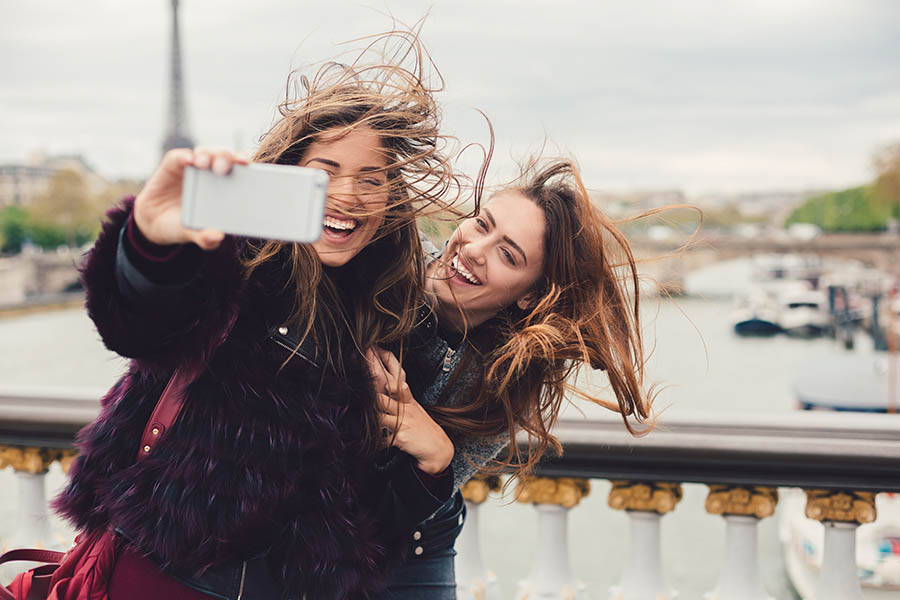
Picture this. You finally book a trip to your ultimate destination. Naturally you are going to want to take picture-perfect photos, to share with friends, family and on social media.
Travel photography goes beyond showing up to a beautiful location and taking a great image. It’s about storytelling, capturing memorable moments, and creating inspiring content for the memory book.
Good news, going from average to amazing snaps doesn’t take much, it’s all about being prepared. We’ve put together some tips to help you take photos you will be proud of and want to show off back home.
Camera Phone vs Digital Camera
A smartphone is probably the most convenient camera you can have. As a collective we tend to always have our phone with us. Grabbing your smartphone to take a photo is practical, quicker and easier, compared to using a camera. Sharing your travel photos with the world via social media is a quick and painless process when using your phone. Having said that, you can apply the below guidance, wherever relevant, if you choose to use a digital camera instead.

Know your Camera / Camera Phone
Key starting point is knowing the ins and outs of your device before leaving for your trip. Seems like an obvious step, but honestly it can make all the difference. At the very least you should know where to locate and adjust the aperture, shutter speed, white balance and the display light, specifically when shooting at night.
The white balance feature is one you need to watch out for. This setting can really set the tone of your photos. Adjust it manually, rather than leaving it on automatic. This will make the colours pop and come to life.
It’s also worthwhile checking out what quality of photos your camera is taking, if you open your camera settings, you can adjust the quality of your photos to make sure you are taking the highest quality photos you can.
Keep it Steady
Avoid the dreaded blur by ensuring your phone is nice and steady. Move the camera slowly, give it time to adjust to new lighting and always keep two hands on your smartphone. A tripod is not essential, but very helpful if you have one, and if you don’t, it’s all about improvisation. Balance the device on the pavement, lean it against a wall or anything else you can think of to prevent it from moving. It works for us, well most of the time! If your images are still coming out blurry, then it might be worth adjusting your settings. You may need a higher ISO, which refers to the sensitivity of the camera’s sensor.

Hardware
Apart from your phone and camera, a small tripod and an Apple watch (or Bluetooth remote) can help you take some amazing photos. Being able to set up for the image will help you make sure you can frame the image in the way that you want. Using a remote to take the photos also makes it easier, as you won’t have to run back and forth to your phone and use the timer. These aren’t deal-breakers, but they definitely make it easier to take photos with you in them, especially if you are travelling alone, or want everyone in the pic, and you won’t have to ask a stranger to help out.
Switch up Your Angles
As tempting as it is, try not to shoot everything at eye-level. For instance, when capturing photos of architecture, look at using different angles – shoot from the ground up, or from above looking down. We’ve all seen that one person climbing a wall, lying on the ground and doing all sorts to get ‘THE’ shot. Try it out, focus on what you’re trying to photograph, and not the people around you. Hold on, this might help with some additional techniques Smart Phone Smart Photography. The author, Jo Bradford is a photographer, who also hosts various workshops in smartphone photography.

If you are uploading your photos to an app, like Instagram or Facebook, check your settings in the app, as these apps make be lowering the quality of your photos to save data usage. Turn on ‘High-quality uploads’ under Data usage in settings on the Instagram app, and adjust your ‘Video and photo settings’ under Settings & privacy on Facebook to share your photos in a higher quality.
Look and Plan for the Best Light
Good lighting is a deal breaker. It will literally make or break your photo collection! Knowing when to be present is key. You don’t want to miss out on those dreamy sunset and sunrise times, they serve a far bigger purpose than just a pretty view. Something else to consider is where the sun rises and sets, it can make a significant difference to the quality of your photos. It sounds complex at first, but don’t stress it. We’ve got the perfect app to help you keep track of those golden hours. You can download the Sunrise Sunset app from the app store. It has everything you need to get you started, including sunrise and sunset timings for any place, any day at your fingertips. The location selection is automatic, but it has the functionality to switch to manual, you can choose from thousands of cities over the world.
Speaking of apps, make sure you take a sneak peek into our top app recommendations before you embark on your next trip.

